TCut
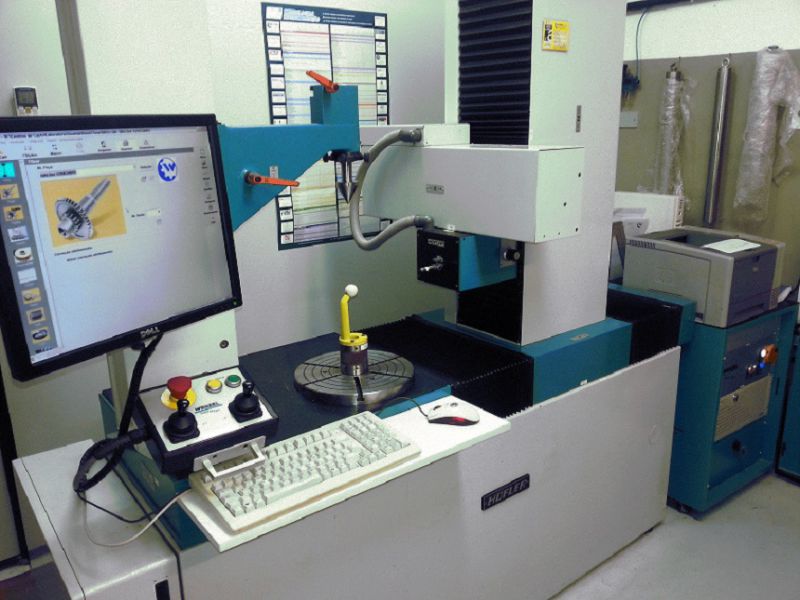
Straight and helical shaping cutters with conical envelope and step grindings are automatically inspected with TCut.
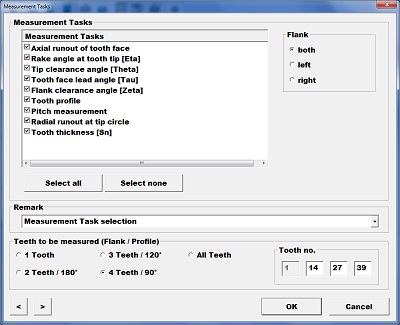
Measurement and evaluation of
The following inspections are carried out according to DIN 1829 (or free tolerances):
- Deviation of Fa, ffa and fHa
- Evaluation according to DIN 1829 or according to free tolerances
- Evaluation ranges are automatically adapted to the actual effective length
- Radial runout of the cutting surfaces on straight and helical shapers
- Cutting angle on the tooth tip
- Tip relief angles
- Cutting surface lead angle on helical shapers
- Flank relief angles
- Determination of tooth width
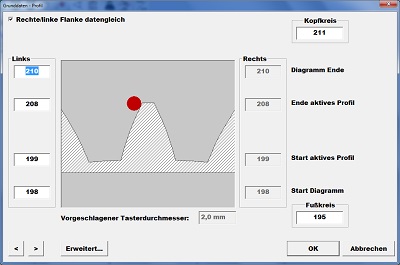
- Determination of profile displacement
Pitch and runout inspection:
- Deviation of fp, fu, Fp and Fr
- Measurement directly below the cutting edge
- Evaluation according to DIN 1829 or according to free tolerances
Additional inspections:
- Profile displacement factor of the re-grind condition
- Effective tip circle diameter
- Determination of the effective working length
- Protuberance evaluation
- Lead measuring results as difference angle fb or as deviation FHß, ffß, fß
- Axial and radial run-out inspection at reference hubs
- Range of pitch errors Rp
- Manual measurement of profile or lead


